

Free WhatsApp API Masterclass: A 60 Minute Crash Course Enroll Now!
-

-
-
Solutions
-
Soluções
-
Soluciones
-
解决方案
-
解決方案
-
الحلول
-
Product
-
Produto
-
Producto
-
产品
-
產品
-
المنتج
-

-
-


 Wati for Marketing
 Wati for Support
 Wati for Sales
 eLearning
 E-commerce
 Marketing Agencies
 Healthcare
 No Code Chatbots
 Instagram and Facebook messenger
 Click to WhatsApp ads
 Campaigns
 Team Inbox
 Agente de suporte de IA
Insights to Scale your Brand with Conversations-Driven Growth & AI-Powered Business Messaging
Trending Blogs

How to Send Bulk WhatsApp Messages in 2026 (Free + Paid Methods)
Learn how to send bulk WhatsApp messages in 2026 using...


How to Send OTP on WhatsApp-Complete Setup Guide
See how WhatsApp OTP makes user verification quick and secure....
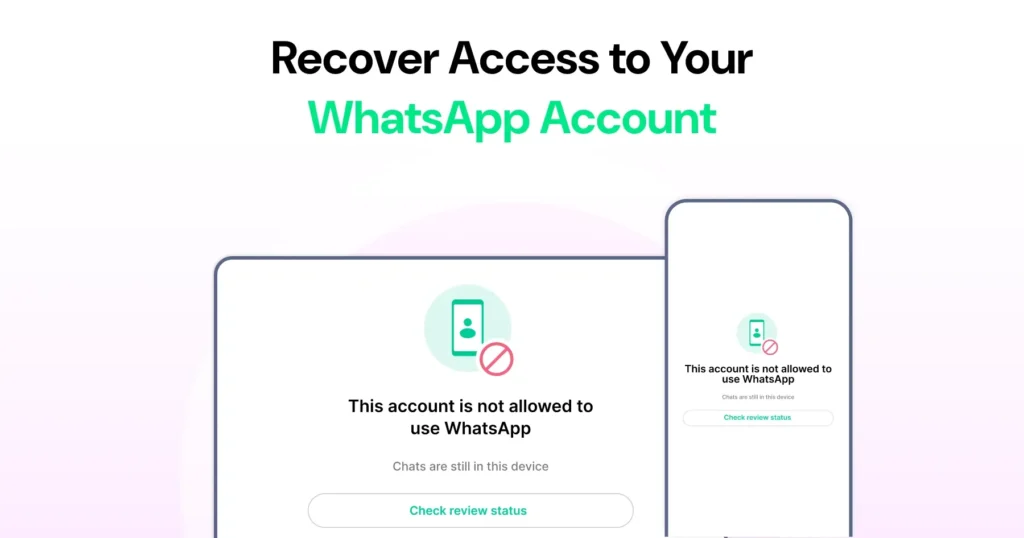
How to Unblock WhatsApp Account: Causes, Fixes, and Best Practices
Struggling with a blocked WhatsApp account? Learn why accounts get...
Products & Updates
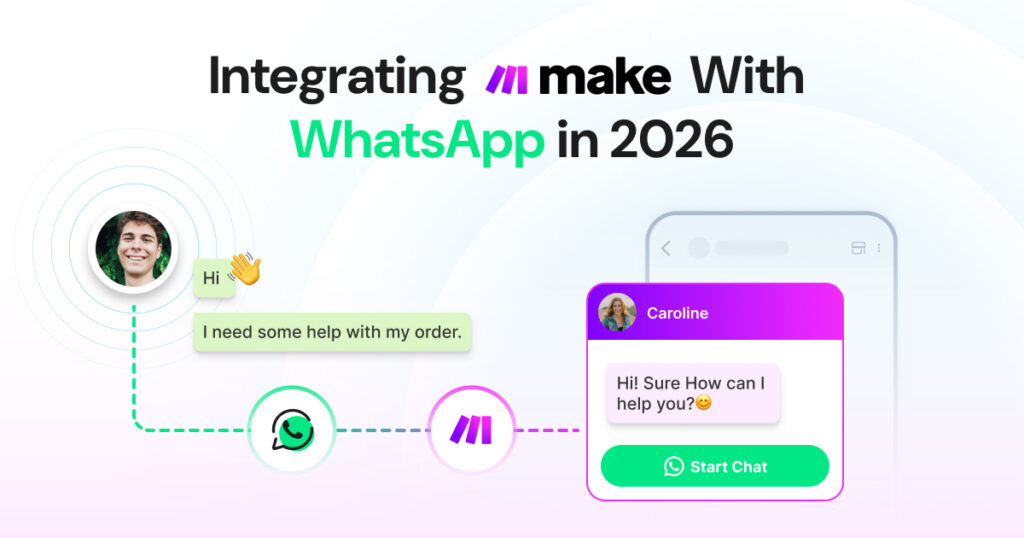
How to Integrate WhatsApp Business API with Make (Step-by-Step Guide)
This blog shows you how to link Make.com with WhatsApp....

Shopify SEO Guide 2026: How to Grow Your Store with Organic Traffic
Learn about Shopify SEO to automate e-commerce workflows, improve customer...
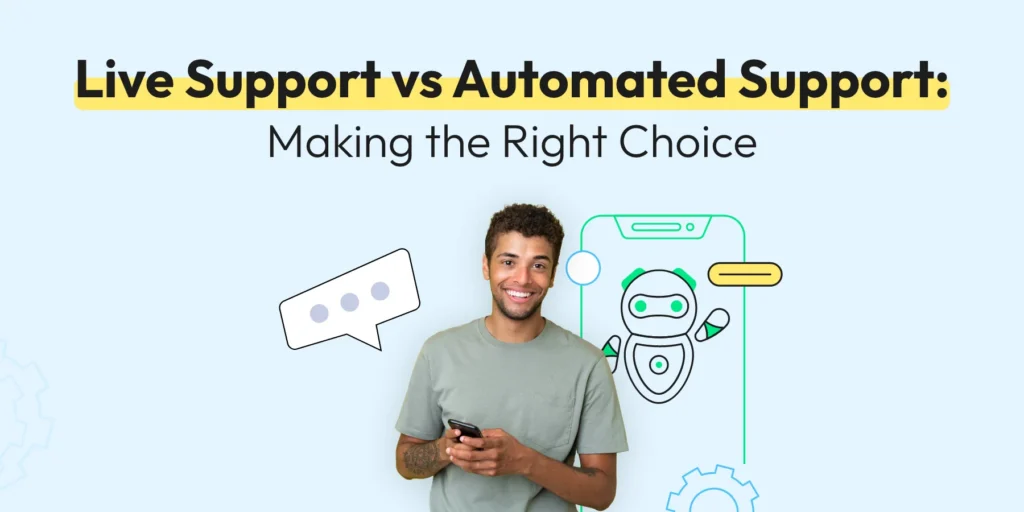
Live Support vs Automated Support: How to Build a Modern Customer Service Strategy
Explore pros and cons of live support & automated support...
Marketing
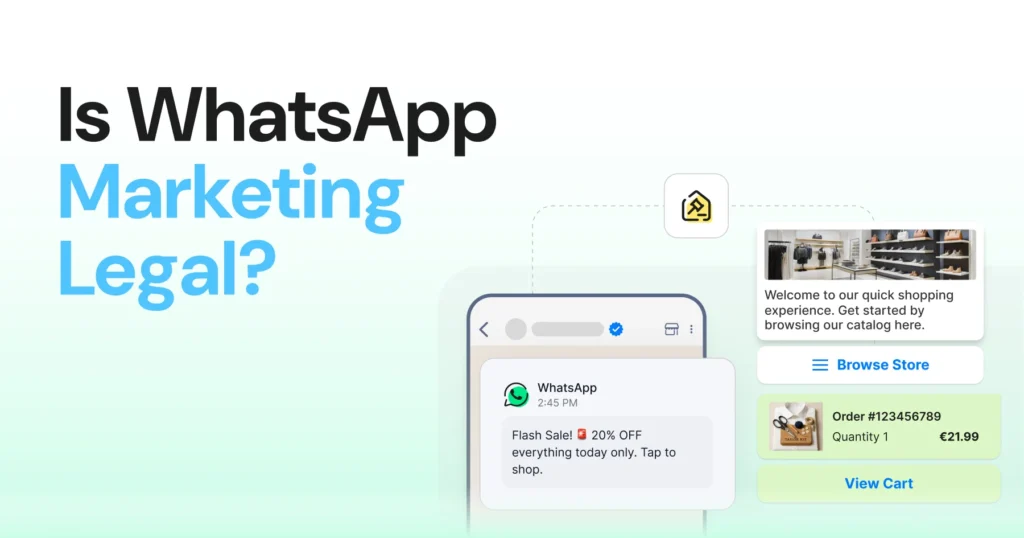
Is WhatsApp Marketing Legal for Businesses? Let’s Clear It Up
Understand WhatsApp’s official rules, opt-in requirements, template policies, and how...
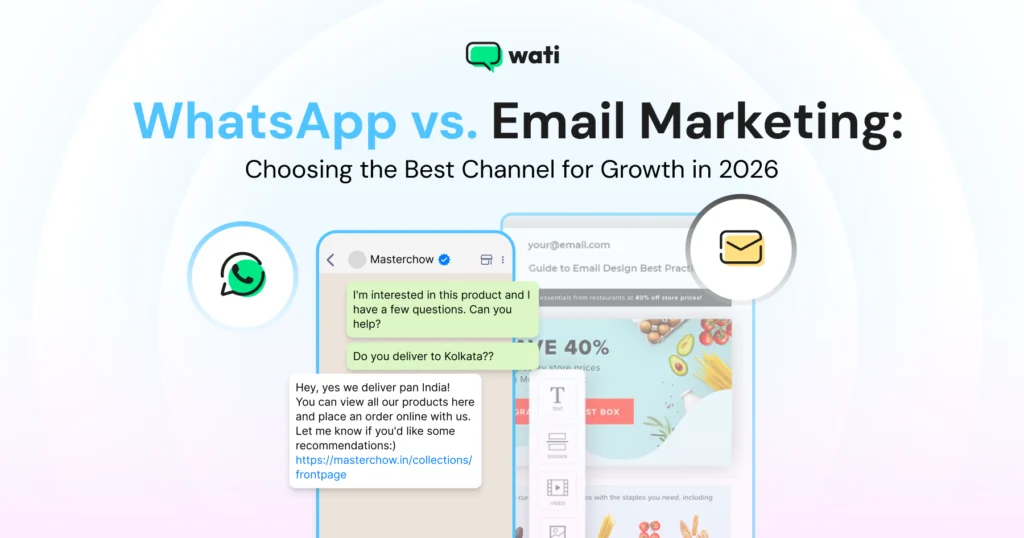
WhatsApp vs Email Marketing: Choosing the Best Channel for Growth in 2026
Learn the key differences between WhatsApp vs email marketing in...
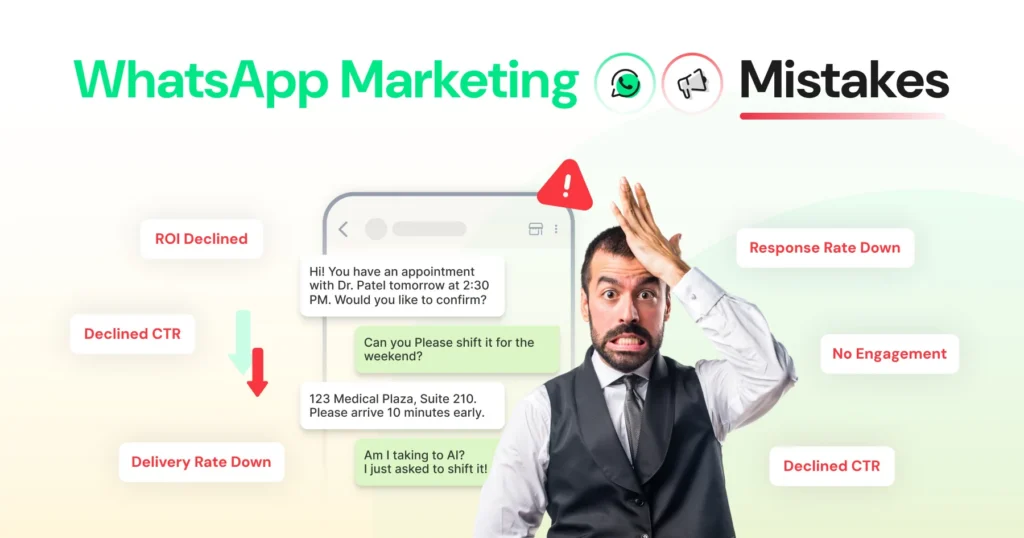
Top 10 WhatsApp Marketing Mistakes Businesses Make and Mess Up Sales Strategy
Discover 10 WhatsApp marketing mistakes to avoid so your campaigns...
WhatsApp API
WhatsApp API Rate Limits: What They Are & How to Avoid Blocking
Understand WhatsApp API rate limits, messaging tiers, upgrades, and how...
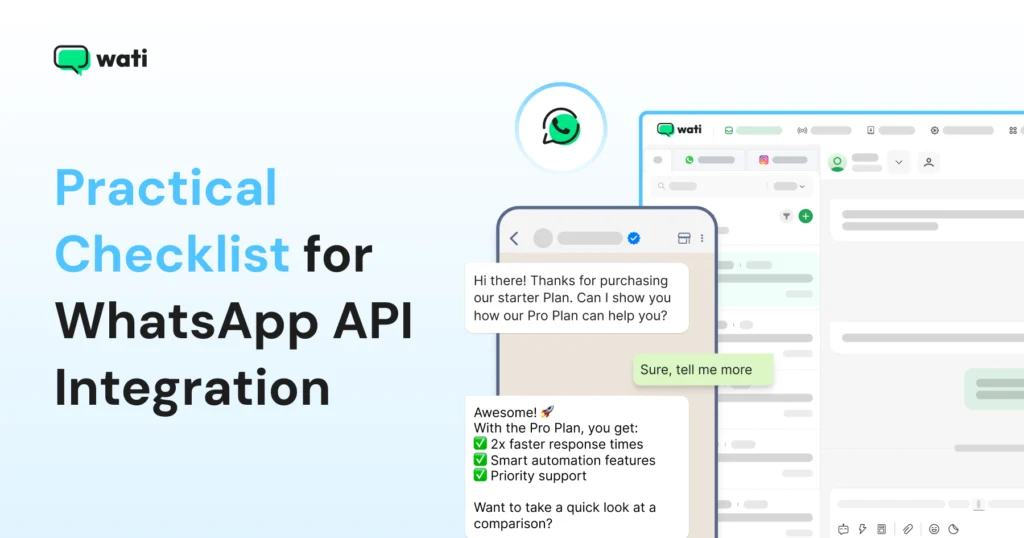
The Ultimate WhatsApp API Integration Checklist for Growing Businesses
This guide breaks down WhatsApp API integration as infrastructure, not...
WhatsApp vs Email Marketing: Choosing the Best Channel for Growth in 2026
Learn the key differences between WhatsApp vs email marketing in...